Car Camping System Setup: A User-Centered Planning Guide
Begin with your trip purpose and habits
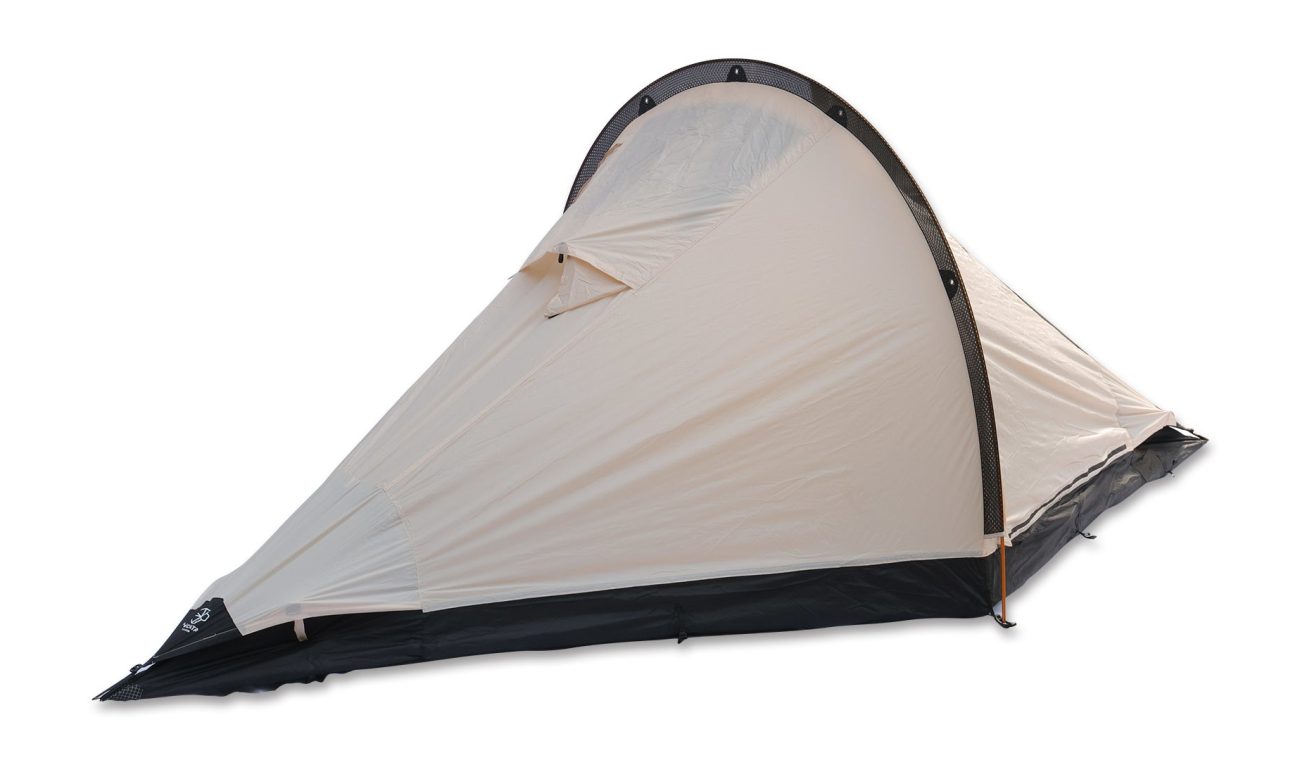
Think like the person who'll live in the car for a weekend or for weeks; what matters to you most — quick overnight stops, long scenic stays, or remote self-sufficiency? Start by listing three hard requirements: sleep comfort, weather protection, and how fast you need to pack up. If you prefer quick setups and want shade that doubles as a kitchen, consider pairing a compact awning with a car extended tent so you cut setup time and keep bugs out.
Measure your vehicle, then match modules
Take two simple measures: usable cargo length and flat-floor width. Those numbers decide mattress size, drawer length, and where your fridge sits. Build around modules that slide or detach — a 1.2 m drawer system, a fold mattress that tucks under the tailgate, a quick-release fridge mount. Pick components that fit those measured dimensions; don’t force a product you liked online into a space it can’t live in.
Prioritize sleep and shelter choices
Choose sleep setups by frequency of use. For nightly campers, install a flat sleeping platform with proper ventilation and a simple privacy curtain. For sporadic use, a convertible seat-bed or rooftop option is lighter. Add weather-proofing: sealed seams, a small heated pad for cold nights, and ventilation panels for humid climates. Small design choices now save you sweat later.
Power, cooking and daily flow
Decide on power around one question: what must run overnight? If it’s just lights and phone charging, a 100–200 Ah leisure battery with a good inverter is overkill; a 50 Ah with efficient LED lighting may be enough. For cooking, pick one primary method — a two-burner camp stove or a portable induction unit paired with a battery bank — and optimize storage near the cook area. Store everyday items within arm’s reach; anything you use every day shouldn’t be under a pile of gear.
Load strategy and access planning
Organize gear by frequency and purpose. Heavy, infrequent items go low and forward; daily-use items go rear and high. Build a “last out, first in” zone for shoes, firestarter, and water. Use clear bins or labeled drawers so you don’t open five boxes at dusk. Test one complete camp setup at home to confirm access patterns before the real trip.
Common mistakes people make
They buy gear that looks good but doesn’t match their routine. They prioritize capacity over access, so the fridge is buried under winter gear. They skip mock setups and only find issues on the road. Fix these by validating choices against your three hard requirements, measuring fit, and doing a full dry run.
 Field-proven notes from real trips
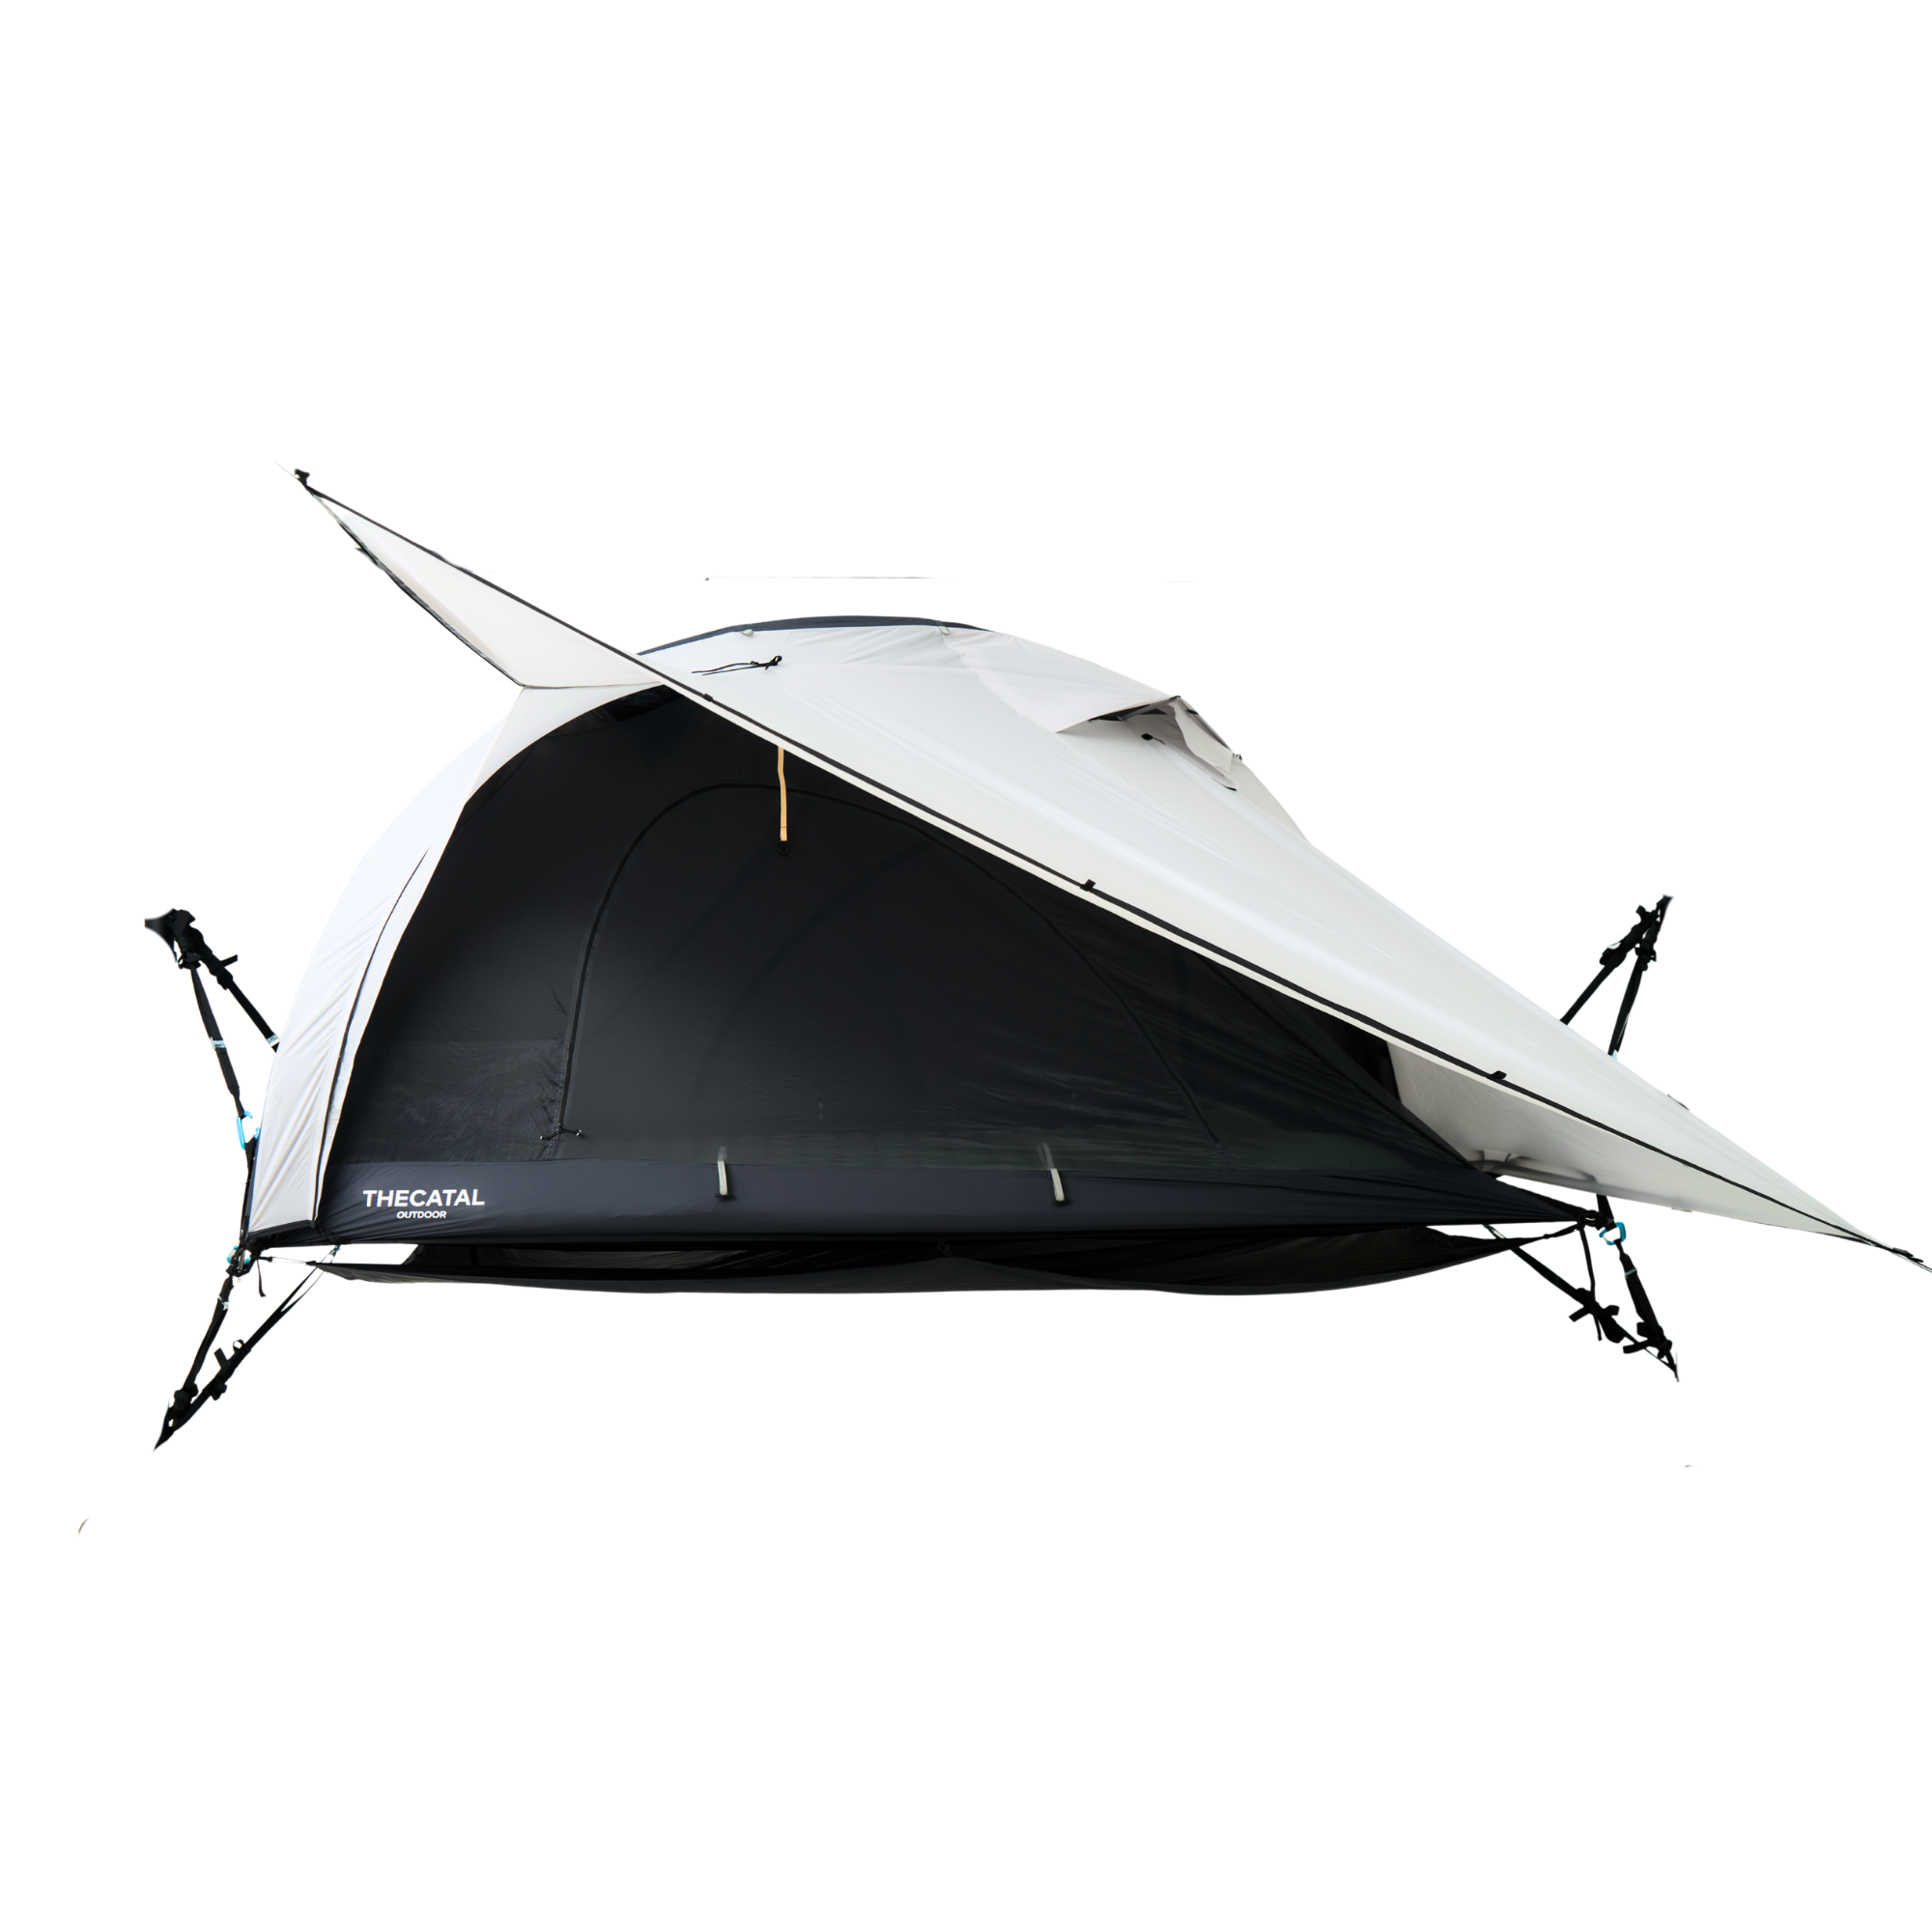
After running fit-outs and guiding groups along Vietnam’s central routes, including a multi-day stretch over the Hai Van Pass and stops around Da Lat, I learned to value quick, weatherproof shelter and modular storage; one reliable outdoor car tent saved setup time during sudden mountain rains. Practical testing in real conditions exposed small failure points — zipper orientation, awning drainage, and the way condensation gathers — that bench testing never shows.
Evaluate alternatives and trade-offs
Rooftop tents trade time for comfort: they free cargo but take more time to fold and add wind profile. Slide-out kitchens are fast for cooks but add weight and complexity. Soft-shell shelters are cheaper and lighter; hard-shells are quicker to deploy and last longer. Choose the trade-off that keeps your three hard requirements intact.
Final synthesis
Design your system around how you camp, not how the kit looks. Measure, prioritize, test, and simplify until the setup becomes familiar and fast. When you need options that marry fast setup, shelter reliability, and modular packing, you’ll find the practical value of a tested system like the ones developed by THECATAL fits naturally into the habits you want on the road.